

Introduction
While building websites, you need a local environment to code and test applications. That is where you would utilize tools such as XAMPP. XAMPP is an open-source, free software package that allows you to host a local server on your Windows system. It has everything that you need—Apache, MySQL (MariaDB), PHP, and phpMyAdmin—to build and administer web applications locally.
One of the best things about XAMPP is how easy it makes it to work with localhost phpMyAdmin, a descriptive web-based MySQL database manager. You can create, modify, and manage databases in your browser with a few clicks—no command-line interface needed.
Here in this tutorial, you will know how to download, install, and utilize XAMPP in Windows, and localhost phpMyAdmin usage as well as how to utilize them. If you are building a WordPress website, running a PHP script test, or practicing backend coding, then this setup is the best place to start without requiring an internet connection or live hosting.
Now, let us proceed with setting up your own local development environment with Localhost XAMPP.
What is XAMMP and Why Use It?
XAMPP stands for Cross-platform Apache MariaDB (previously MySQL), PHP, and Perl. XAMPP is open-source, free software that developers use to install a web server platform on a computer that can be developed from by a person. The beauty of XAMMP is simplicity: it contains all the elements needed to host a web server on a local machine without the need for complicated install or third-party packages.
Here’s a quick breakdown of the components:
1. Apache: Included open-source web server software to host and serve web sites locally.
2. MariaDB (MySQL): Database management system for databases to hold and organize your site's data. Behind most web-based applications such as WordPress.
3. PHP: Server-side script language to create dynamic web pages. PHP is already pre-installed in XAMPP so you can execute and debug PHP code locally on a work station.
4. Perl: A scripting language included in the XAMPP package, but not typically utilized by most modern web applications.
5. phpMyAdmin: A web-based front end to manage MySQL or MariaDB databases using your web browser. phpMyAdmin offers a simple-to-use interface to perform tasks like database creation, querying, and table maintenance without having to write SQL manually.
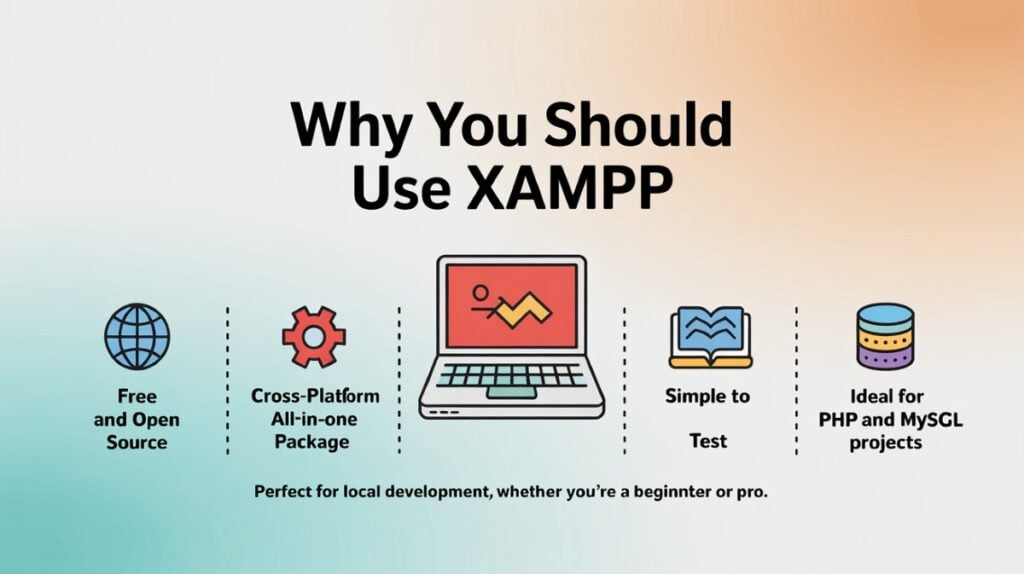
Why You Should Use XAMPP
There are several advantages of working with XAMPP as a local development environment:
- Free and Open Source: XAMPP is completely free and open-source, and hence anyone can work with it regardless of whether you are a professional or learning-level developer.
- Cross-Platform: Although this tutorial has been worked on Windows, XAMPP can even be run on macOS and Linux, so it is cross-platform and easily usable on other operating systems.
- All-In-One Package: It packages all the web development content such as Apache, PHP, MySQL, and phpMyAdmin into a single simple-to-install package. This spares you from installing them separately and setting up as well as time and effort.
- Simple to Test: Web sites, apps, and databases are simple to test on localhost XAMPP locally before going live. It prevents any unauthorized downtime in your live environment and having all that in a controlled, secure setup as planned.
- Ideal for PHP and MySQL Projects: XAMPP is particularly useful if you’re developing in PHP, working with MySQL databases, or using a content management system like WordPress, which requires both PHP and MySQL to function.
How to Download XAMPP for Windows
XAMPP is simple to use. To install localhost XAMPP on your Windows system, simply follow these simple steps:
1. Visit the Official XAMPP Website:
It is the ideal place to download the software in order to acquire the latest version with all of the security updates and patches.
2. Choose the Windows Version
On the home page, you will find different versions of XAMPP for Windows, Linux, and macOS. Since we are interested in Windows, click the Windows button to download the Windows installer.
3. Download the Latest Version
You will be given an option to download the latest version of XAMPP. The version should be capable of supporting the newest version of PHP because newer PHP features are what are used in current web development. But in case you need to use a specific PHP version for compatibility, you can download an older one from the archive page of the website.
4. Wait for the Download to Finish
Depending on your download speed, the file will be downloaded in a few minutes. The installer will be an.exe file (e.g., xampp-windows-x64-7.4.10-0-VC15-installer.exe).
5. Verify the File
For security purposes, it is always best to verify the integrity of the file after download. This can generally be done with the SHA256 hash of the file provided on the website, although it is not necessary for most users.
How to Install XAMPP on Windows
After you've downloaded XAMPP, installation is simple. Simply follow these steps:
Step 1: Open the Installer
From where you downloaded (likely in your Downloads folder), double-click on the downloaded .exe file. If you see a security prompt, click Yes to proceed.
Step 2: Choose What to Install
You'll have a list of items such as Apache, MySQL, PHP, and phpMyAdmin.
👉Tip: Don't deselect the default choices—these are all that you require to execute PHP and databases locally. Select Next.
Step 3: Choose an Installation Folder
The standard install is in C:xampp. That's what we recommend, so simply select Next once more.
Step 4: Bypass the Bitnami Dialogue
The subsequent dialog may discuss Bitnami (additional tools). You can deselect this and select Next.
Step 5: Install
Now click Next again and the installation will proceed. This will only take a couple of minutes—just wait for it to finish.
Step 6: Finish Setup
When finished, check the box to open the XAMPP Control Panel and click Finish.
That’s it! XAMPP is now installed on your Windows computer. Next up, we’ll launch it and start using it with localhost phpMyAdmin.
How to Start and Use XAMPP (Apache & MySQL Services)
Now that XAMPP is installed, it’s time to launch it and start your local web server.
Step 1: Open the XAMPP Control Panel
If you checked the box after installation, the control panel should already be open.
If not, go to your Start menu or desktop and open XAMPP Control Panel manually.
Step 2: Start Apache and MySQL
You’ll see a list of services. The two main ones you need are:
💠Apache – This runs your local web server.
💠MySQL – This runs your database server (MariaDB).
Click Start next to Apache and then MySQL.
Once they start, their status will turn green. That means your local server is up and running!
Step 3: Check If It’s Working
Open any browser and go to: http://localhost
You should see the XAMPP welcome page. This means Apache is working.
To access your database panel, go to: http://localhost/phpmyadmin
This opens phpMyAdmin, where you can create and manage MySQL databases easily in your browser.
That’s it! You’ve successfully started localhost XAMPP and accessed localhost phpMyAdmin.
👉If you're facing issues while trying to change the MySQL root password in XAMPP, don’t worry—this detailed guide walks you through common errors and step-by-step solutions to fix them quickly.
How to Create a Database with phpMyAdmin
Once you are at the phpMyAdmin page (http://localhost/phpmyadmin), simply go through these easy steps to make a new database:
Step 1: Enter phpMyAdmin
You likely already are at the phpMyAdmin home page if you have reached the end of the last step. If not, enter in your web browser: http://localhost/phpmyadmin
Step 2: Create a New Database
💠At the top of the menu, click on Databases.
💠Under Create database, enter a name for your database (e.g., myproject).
💠Leave collation as default (likely utf8mb4_general_ci).
💠Click Create.
Step 3: That's It!
There should be a success message, and your new database will be in the left-hand sidebar. You can now insert data, add tables, or attach it with a PHP project.
👉In phpMyAdmin, it’s crucial to create a MySQL database schema properly before adding tables or importing data.
How to Put Your PHP Projects in XAMPP
In order to execute your PHP files or websites on localhost XAMPP, you simply need to put them in the right directory.
Step 1: Go to htdocs Folder
💠Open File Explorer.
💠Go to: C:xampphtdocs
💠This is the root directory where all your PHP files are supposed to go.
Step 2: Make a Project Folder
💠In htdocs, make a new folder (e.g., mywebsite).
💠This keeps your projects tidy.
Step 3: Put Your Files
💠Paste your PHP files in this folder.
💠If you have index.php, for instance, paste it to C:xampphtdocsmywebsite.
Step 4: Execute the Project in Browser
💠Launch your browser and visit: http://localhost/mywebsite
💠If you see your PHP page, then it works!
That’s it! Your PHP files are now live on your local server.
👉Once your XAMPP server is running, you might want to securely share localhost with clients or team members for collaboration or demo purposes.
Common localhost phpMyAdmin Errors and Their Solution
You can have a couple of common errors when you're using localhost phpMyAdmin. Worry not — they are extremely easy to fix.
1. Apache or MySQL Won't Start
Issue: You click "Start" but Apache or MySQL won't.
Solution:
Make sure no other application (like Skype or some other server) is taking up ports 80 or 3306.
If it needs to be changed, edit the port under XAMPP settings:
➡️Click Config beside Apache.
➡️Open httpd.conf, find Listen 80, and change it to Listen 8080.
2. Access Denied for User 'root'@'localhost'
Issue: You cannot access phpMyAdmin using the user 'root'.
Solution:
Open phpMyAdmin through http://localhost/phpmyadmin without a password.
If still not working:
💠Open config.inc.php at C:xamppphpMyAdmin.
💠Find this line: $cfg['Servers'][$i]['password'] = '';
💠Ensure the password field is left blank (default XAMPP installation has no password for 'root').
3. phpMyAdmin Not Loading
Issue: The page is blank or an error message appears.
Solution
Make sure Apache and MySQL are up.
Clear out your browser cache or try using a different browser.
Try restarting XAMPP.
4. Database Not Found
Issue: Your code can't find a database you've created.
Solution:
💠Double-check the database name in your PHP script again.
💠Make sure you created the database with the right name in phpMyAdmin.
💠Make sure MySQL is up.
With these quick fixes, you’ll be able to keep working smoothly on your localhost XAMPP setup.
Conclusion
Now that you have successfully installed and run your own localhost XAMPP and phpMyAdmin on your Windows machine, here's a brief reminder of what you've done:
- Downloaded and Installed XAMPP: Everything is all set up and working.
- Started Apache and MySQL: Your local server is now online, and you can visit at localhost.
- Created a Database in phpMyAdmin: You have successfully learned how to create and utilize databases within your local server.
- Plopped Your PHP Projects: You now possess the know-how to put your PHP projects inside the htdocs directory and execute them locally.
- Troubleshot Common Issues: You now have solutions at hand to frequent problems you will face.
Having localhost XAMPP up and running, you now can now develop and execute your PHP projects locally without worrying. That's all for now! You now have a complete XAMPP setup for PHP programming right on your desktop. Do feel free to ask more questions if you need them. Happy coding!👍
%201.png)

%201.png)

%201.png)