


%20(1).png)

Introduction
If you're using XAMPP and facing login issues, you may need to change MySQL root password in XAMPP to restore phpMyAdmin access. Changing the MySQL root password in XAMPP may appear straightforward—but if it's not completed correctly, usually results in the infamous (HY000/1045) error, blocking your access to phpMyAdmin panel. This situation is particularly widespread among developers dealing with local testing or development environments on XAMPP.
👍If you haven't already set up your local environment, here's how to install XAMPP on Windows 10 for a seamless development experience.
In this step-by-step tutorial, we will guide you through the process of altering the root password through phpMyAdmin, correcting the XAMPP config, and resolving the (HY000/1045) error that ensues in case something happens to go awry.
Whether you want to protect your localhost configuration or you've already run into this error and need to correct it quickly—this tutorial's got you covered.
▶️Watch this process in action in our YouTube video:
Let’s begin by understanding what the (HY000/1045) error actually means.
What is (HY000/1045) Error in MySQL?
The (HY000/1045) error in MySQL typically shows up when phpMyAdmin cannot connect to the MySQL server using the provided credentials—usually because the username or password is incorrect.
The full error message usually looks like:
#1045 - Access denied for user 'root'@'localhost' (using password: YES)This error often occurs:
- Right after changing the MySQL root password via phpMyAdmin.
- If you forgot to update the password in the config.inc.php file.
- When MySQL's internal user authentication does not recognize the new credentials.
In XAMPP setups, phpMyAdmin uses the root user without a password by default. But once you add a password, phpMyAdmin will continue trying to log in with no password—unless you tell it otherwise.
This mismatch causes phpMyAdmin to throw the (HY000/1045) access denied error.
✅ Good News: This can be fixed easily in a few steps, which we’ll cover in the next sections.
Prerequisites Before You Begin
Before you start to change MySQL root password in XAMPP, make sure you have everything in place to avoid any interruptions or issues.
✅ What You Need:
- XAMPP Installed
Ensure XAMPP is already installed and running on your system (Windows, macOS, or Linux). - Access to phpMyAdmin
You should be able to openhttp://localhost/phpmyadmin/in your browser. - Basic Knowledge of File Editing
You’ll need to open and modify theconfig.inc.phpfile located in thephpMyAdmindirectory. - Text Editor
Use any code-friendly editor like Notepad++, VS Code, or Sublime Text (avoid WordPad or MS Word). - Backup (Recommended)
It’s a good habit to back up yourconfig.inc.phpfile and export your databases, especially if you're working on critical projects.
Once you’re ready, let’s move on to actually changing the password safely.
Step-by-Step: Change MySQL Root Password via phpMyAdmin
Let’s now walk through how to change MySQL root password in XAMPP by using the phpMyAdmin interface . This method is safe and doesn't require command-line skills.
Step 1: Open phpMyAdmin
- Launch XAMPP Control Panel.
- Start both Apache and MySQL services.
- Open your browser and go to:
http://localhost/phpmyadmin
Step 2: Go to User Accounts
- Once inside phpMyAdmin, click on the "User accounts" tab from the top menu.
- Look for the root@localhost user in the list.
Step 3: Edit Privileges
- Click Edit privileges next to root@localhost.
- Scroll down and click the "Change password" link.
Step 4: Set a New Password
- Enter your new password twice in the fields.
- Click Go to save the changes.
💡 Tip: Choose a password you’ll remember but that’s still secure. Avoid using just “root” or “1234”.
Step 5: Logout
After setting the new password, logout from phpMyAdmin. Don’t worry if you see an error at this stage—we’ll fix it in the next step by updating the config file.
Update phpMyAdmin Config File (config.inc.php)
After changing the root password in phpMyAdmin, you need to update the XAMPP configuration so phpMyAdmin can log in using the new password. Otherwise, you'll run into the (HY000/1045) access denied error we discussed earlier.
Step 1: Locate config.inc.php
- Open your XAMPP installation folder.
- Navigate to:
xampp > phpMyAdmin > config.inc.phpStep 2: Open the File in a Text Editor
- Use a proper code editor like Notepad++, VS Code, or Sublime Text.
- Avoid using MS Word or WordPad.
Step 3: Update the Password Line
Find this line in the file (around line 21–27 typically):
$cfg['Servers'][$i]['password'] = '';Change it to include your new root password:
$cfg['Servers'][$i]['password'] = 'your_new_password';Make sure the password matches exactly what you set in phpMyAdmin.
Step 4: Save the File
- Save the changes.
- Close the editor.
Once this is done, you’ve successfully synced phpMyAdmin with your new root password.
Now, let’s restart XAMPP and test if everything is working properly.
Restart XAMPP Services
Now that you've updated the root password and configured phpMyAdmin correctly, it's time to restart XAMPP so all changes take effect properly.
Step 1: Open XAMPP Control Panel
If it’s already open, great. If not, relaunch the XAMPP Control Panel.
Step 2: Stop Apache and MySQL
- Click Stop for both Apache and MySQL modules.
- Wait a few seconds until both services are fully stopped.
Step 3: Start Apache and MySQL Again
- Click Start next to Apache and then MySQL.
- Both services should now be running without any red error messages.
Step 4: Reopen phpMyAdmin
Go to your browser and visit: http://localhost/phpmyadmin
If everything was done correctly, phpMyAdmin will open without any errors—and your new root password is now active.
Let’s move on to verifying your setup.
Verify Everything Works
After restarting XAMPP, it’s important to make sure everything is working as expected—especially your connection to phpMyAdmin.
Step 1: Visit phpMyAdmin
Open your browser and go to:
http://localhost/phpmyadminIf the setup was successful:
- You should no longer see the (HY000/1045) error.
- phpMyAdmin will open without asking for credentials (if using cookie-less login).
- You’re logged in as root with your new password.
Step 2: If You’re Still Getting an Error
If you’re seeing the same access denied error, double-check:
- The password in config.inc.php matches the one you set in phpMyAdmin.
- You saved and restarted XAMPP after updating the config file.
- No extra spaces or characters are in the password string.
If everything looks good—you’ve succeeded to change MySQL root password in XAMPP and fixed the error.
Next, we’ll cover what to do if you still face issues, especially around (HY000/1045).
👍After fixing the root password issue, you can proceed to create a MySQL database schema to begin building your application structure.
Troubleshooting (HY000/1045) Error
Still seeing the dreaded (HY000/1045) Access Denied error after updating the root password? Don’t worry—this section will help you fix the issue using a reliable manual reset method.
This is especially helpful if:
- You forgot the password
- The password isn’t being recognized
- phpMyAdmin keeps throwing login errors even after updates
Solution: Reset MySQL Root Password via Command Line
Here’s how to manually reset the root password using MySQL in safe mode (as shown in the video):
Step 1: Stop MySQL from XAMPP Control Panel
Click Stop next to MySQL.
Step 2: Launch Command Prompt as Administrator
Navigate to your XAMPP directory using cd command:
cd C:\xampp\mysql\binStep 3: Start MySQL in Safe Mode
Run this command:
mysqld --skip-grant-tablesLeave this window open. MySQL will now start without asking for any password.
Step 4: Open New Command Prompt Window
In the new CMD window, run:
mysql -u rootNow you’ll be inside the MySQL shell.
Step 5: Run These SQL Commands to Reset Password
USE mysql;
UPDATE user SET authentication_string=PASSWORD('your_new_password') WHERE User='root';
FLUSH PRIVILEGES;
EXIT;
💡 Replace 'your_new_password' with the actual password you want to set.
Step 6: Restart XAMPP Normally
- Close both command prompts.
- Open XAMPP Control Panel.
- Start MySQL and Apache as usual.
Try accessing phpMyAdmin again. You should now be able to log in with the new root password—error-free.
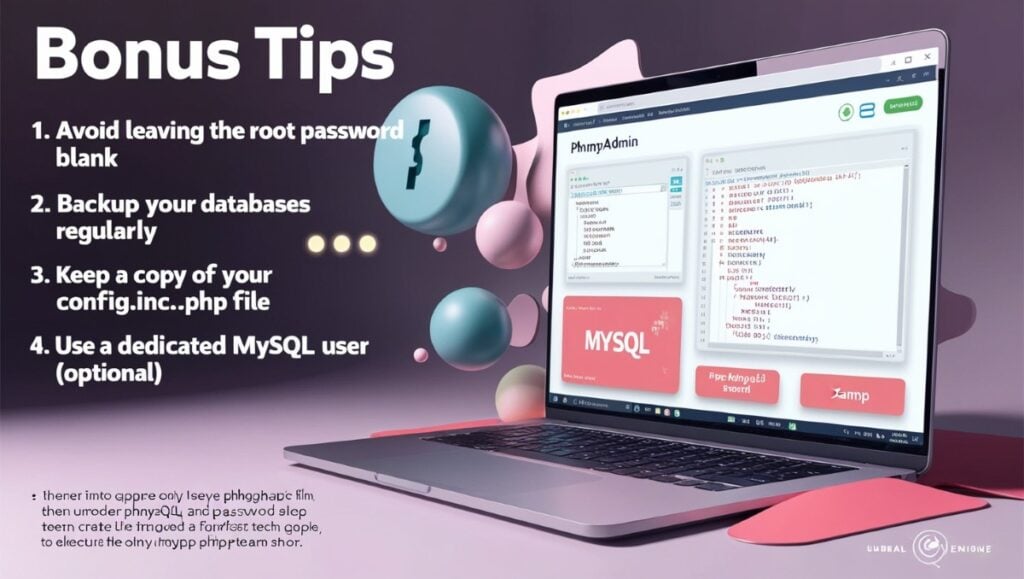
Bonus Tips: Best Practices After Changing Root Password
Congrats! If you've made it this far, you've successfully updated your root password and resolved the (HY000/1045) error. But to keep your XAMPP environment secure and stable. Before you wrap up, here's an extra insight—knowing how to change MySQL root password in XAMPP can also help you avoid similar access issues in future projects or client setups. here are a few pro tips to follow:
1. Avoid Leaving the Root Password Blank
Even in local development, it’s a good habit to set a strong password for the root user to avoid accidental misuse or exposure.
2. Backup Your Databases Regularly
Use phpMyAdmin’s Export feature or tools like mysqldump to create backups before making major changes. This protects you from data loss during misconfigurations.
3. Keep a Copy of Your config.inc.php File
Before editing, save a copy of the original file. If something breaks, you can easily restore the working configuration.
4. Use a Dedicated MySQL User (Optional)
Instead of working directly as root, you can create a separate MySQL user with limited privileges—safer for real project development.
Conclusion
To Change MySQL root password in XAMPP and fixing the (HY000/1045) error might seem intimidating at first—but as you've seen, it’s actually a simple and safe process when done step by step.
By following this guide, you’ve learned how to:
- Change the change MySQL root password in xampp through phpMyAdmin
- Update the config.inc.php file properly
- Troubleshoot and reset the password via the command line
- Apply best practices for safer local development
Whether you're a beginner working on your first PHP project or a developer troubleshooting a local server issue, knowing how to change MySQL root password XAMPP can save hours of frustration during local web development.
💡 Don’t forget to bookmark this guide for future reference and share it with fellow devs facing similar issues.
📺 Prefer watching over reading?
Check out our full video tutorial on YouTube here:
Have questions or stuck somewhere about change MySQL root password in xampp? Drop a comment below or on our video—we’re here to help!